What better to start the new year off than something totally different for the January Daring Bakers Challenge! Karen aka Baking Soda at
Bake My Day! (from the Netherlands) and Zorra aka Kochtopf at
1x umrühren bitte (originally Swiss now in Spain) gave us this creative challenge.

I have worked with Tuile before in school but both times they were in combination with a jaconde cake base layer, more of a cake, less of a delicate cookie. So instead of using a stencil like I always had, I decided I would try it using my ever so unused pastry tips and bags that I brought for a competition at school. There were both pros and cons I found in using tips rather than a stencil. It was definitely more time consuming using tips because I piped my butterflies using lines. So basically I piped all the vanilla tuile batter first, leaving gaps for where I wanted the chocolate tuile batter to go. I hope that makes sense. What I found was that the details were definitely more delicate in a way, less uniform but more delicate and unique. The other problem I had with using the tips was that the tuile batter was not as thin as it needed to be in order to form it into shapes and such after baking. The very last picture shows a better view of the tuile shaped at an angle for the wings. I had fun with it for sure and as for the taste, I definitely didn't like the intense butter flavor. It left my mouth with an unwanted aftertaste.
 “The Chocolate Book”, written by female Dutch Master chef Angélique Schmeinck.
Recipe:Yields: 20 small butterflies/6 large (butterflies are just an example)
Preparation time batter 10 minutes, waiting time 30 minutes,
baking time: 5-10 minutes per batch
65 grams / ¼ cup / 2.3 ounces softened butter (not melted but soft)
60 grams / ½ cup / 2.1 ounces sifted confectioner’s sugar
1 sachet vanilla sugar (7 grams or substitute with a dash of vanilla extract)
2 large egg whites (slightly whisked with a fork)
65 grams / 1/2 cup / 2.3 ounces sifted all purpose flour1 table spoon cocoa powder/or food coloring of choice
Butter/spray to grease baking sheet
Oven: 180C / 350F
Using a hand whisk or a stand mixer fitted with the paddle (low speed) and cream butter, sugar and vanilla to a paste. Keep stirring while you gradually add the egg whites. Continue to add the flour in small batches and stir to achieve a homogeneous and smooth batter/paste. Be careful to not overmix.Cover the bowl with plastic wrap and chill in the fridge for at least 30 minutes to firm up. (This batter will keep in the fridge for up to a week, take it out 30 minutes before you plan to use it).
Line a baking sheet with parchment paper or grease with either butter/spray and chill in the fridge for at least 15 minutes. This will help spread the batter more easily if using a stencil/cardboard template such as the butterfly. Press the stencil on the bakingsheet and use an off sided spatula to spread batter. Leave some room in between your shapes. Mix a small part of the batter with the cocoa and a few drops of warm water until evenly colored. Use this colored batter in a paper piping bag and proceed to pipe decorations on the wings and body of the butterfly.
Bake butterflies in a preheated oven (180C/350F) for about 5-10 minutes or until the edges turn golden brown. Immediately release from bakingsheet and proceed to shape/bend the cookies in the desired shape. These cookies have to be shaped when still warm, you might want to bake a small amount at a time or maybe put them in the oven to warm them up again. (Haven’t tried that). Or: place a bakingsheet toward the front of the warm oven, leaving the door half open. The warmth will keep the cookies malleable.If you don’t want to do stencil shapes, you might want to transfer the batter into a piping bag fitted with a small plain tip. Pipe the desired shapes and bake. Shape immediately after baking using for instance a rolling pin, a broom handle, cups, cones….

Fly away butterflies, Fly!

 When I think Scones I think of coffee and when I think of coffee I think of sharing conversation with girlfriends. Its as if the scones were calling out to me "Bake me for OCF." OCF is short for Officers Christian Fellowship. My friend Tree whos house we have the bible study at always has a fresh pot of coffee brewing and let me tell you, after a long day of chasing after an incredibly talented rolling infant, that is just what I need.
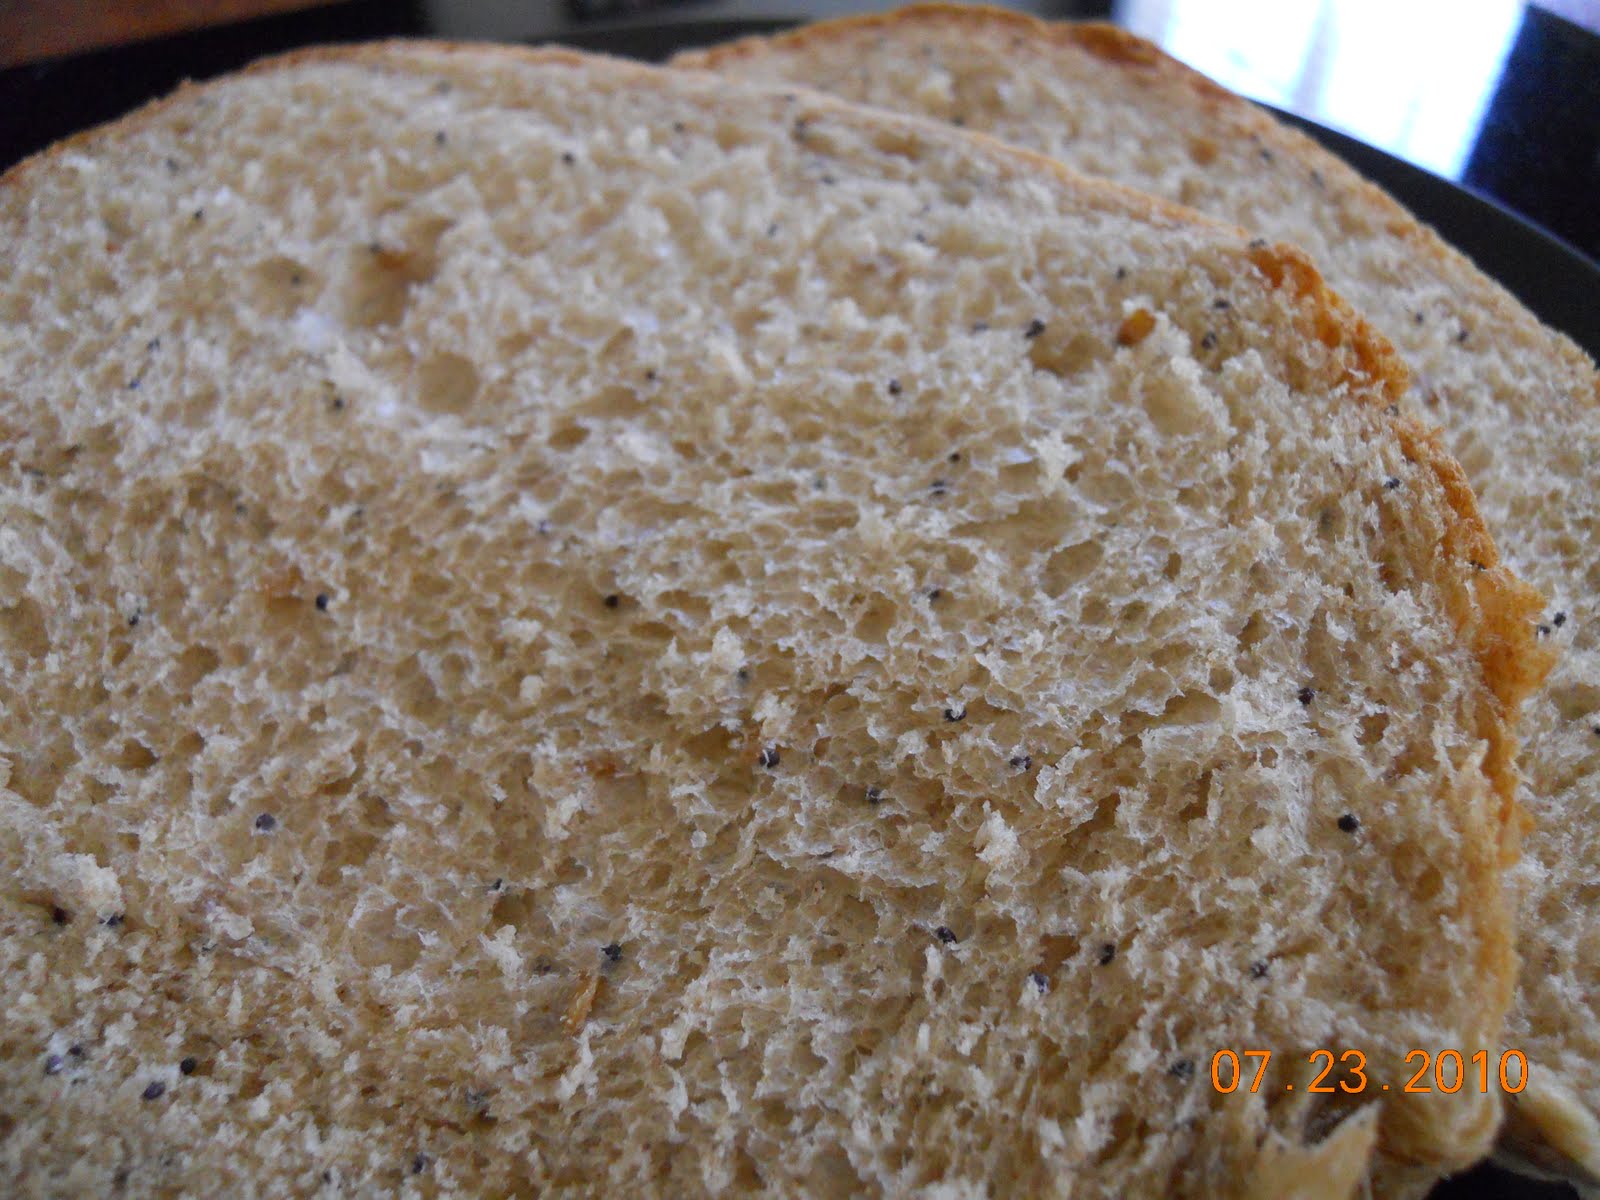
 It turned out pretty good actually. The yogurt gave it a more chewy, cake-like mouthfeel than milk does but it was SO soft, you couldn't help but eat an entire one. Well, I couldn't help but eat an entire scone. lol. So if you want to give these yogurty scones a try let me know what you think.